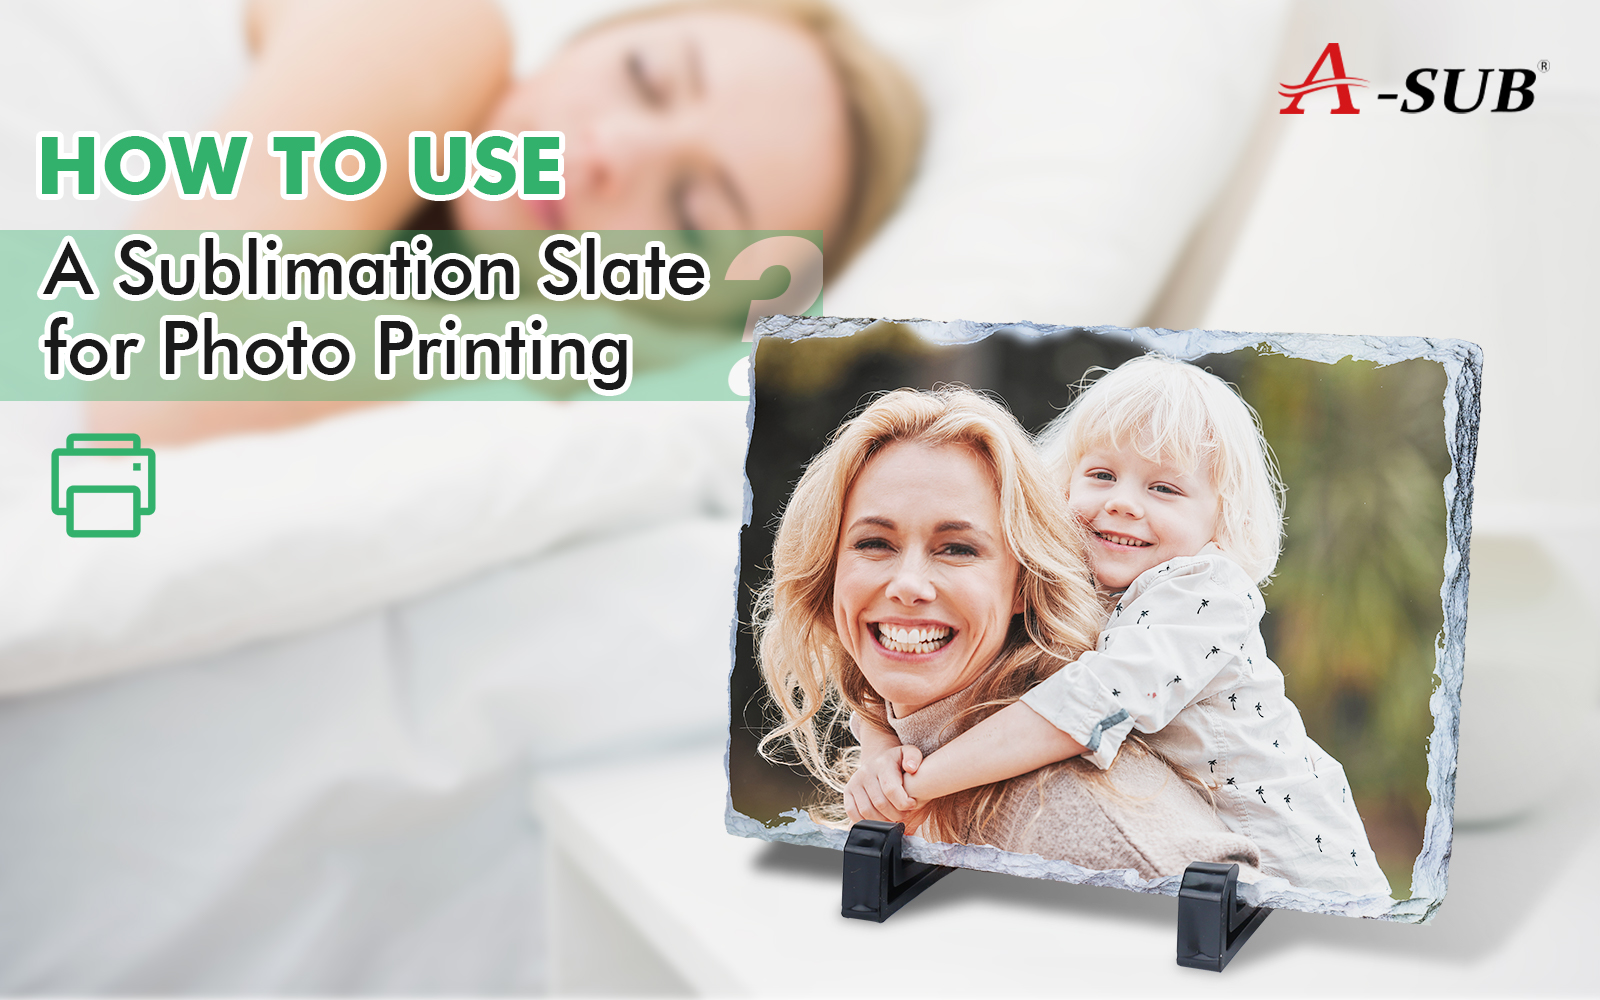
Maybe you’ve already fallen in love with sublimation printing on T-shirts, mugs, or mouse pads. This time, though, we’d like to introduce you to a more niche but highly ceremonial sublimation material—the sublimation slate.
Have you ever thought about printing a photo on a piece of stone? Now, we can help you turn that idea into reality. The natural texture of the slate, combined with the vibrant clarity of sublimation images, creates not just a unique artistic feel, but also opens up new possibilities for personalized gifts and keepsakes.
Keep reading to learn what sublimation slate is and how to transfer photos onto it to create a handcrafted piece that feels both tactile and meaningful.
What Is a Sublimation Slate?
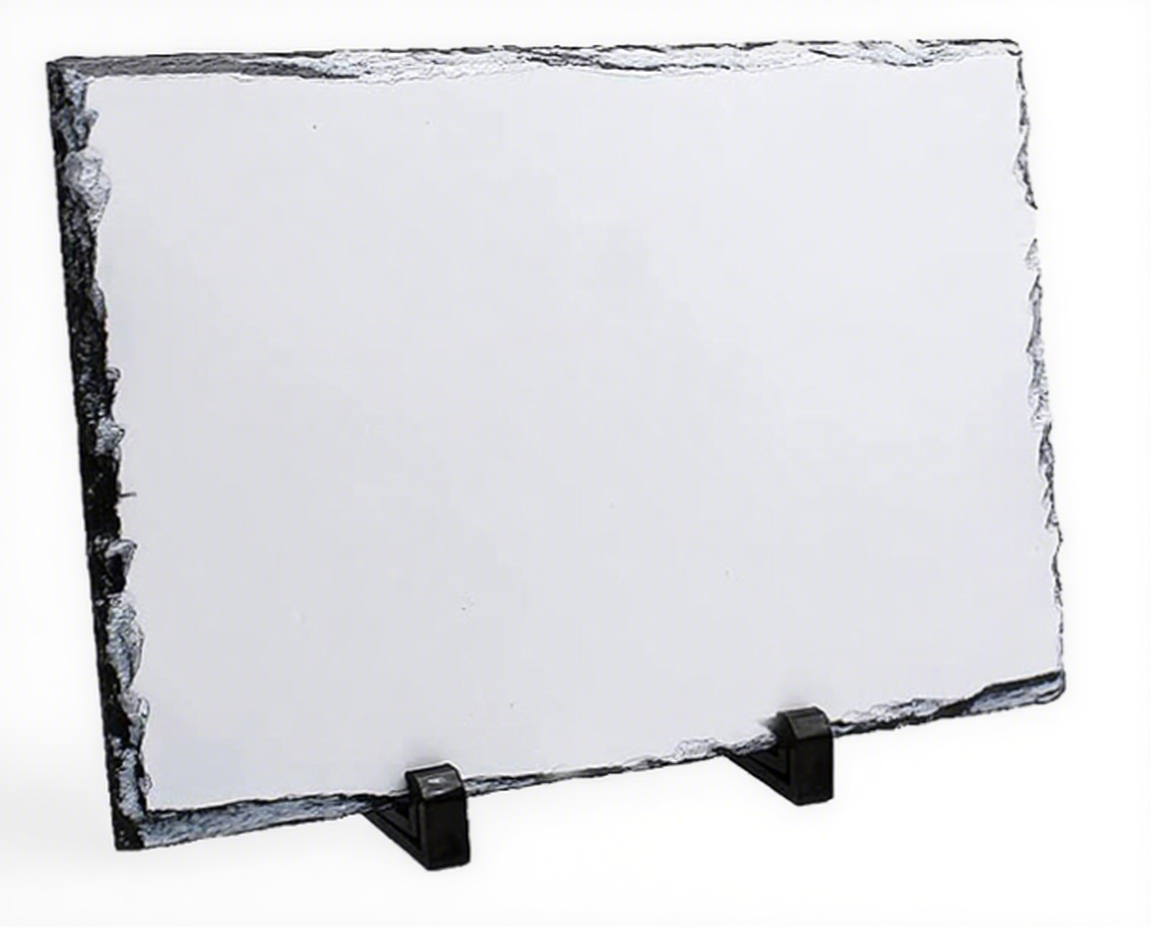
A sublimation slate is a natural stone material with a specially coated surface. Unlike regular stone, its front side has a white polyester coating. This coating allows it to bond fully with sublimation ink, resulting in high-definition, vibrant images.
The edges of the slate retain natural fractured textures, giving it a rough, organic feel. This unique material trait makes sublimation slate stand out from more typical materials like paper. It’s not just a photo holder—it’s more like a substantial decorative artwork with weight.
Currently, sublimation slates come in various shapes and sizes. From small square coasters to medium-to-large slates with stands, they’re all great for making commemorative photos, tabletop decorations, or holiday gifts.
Materials and Tools You’ll Need
Transferring onto slate is a bit more complex than on fabrics like T-shirts. The material costs are also relatively higher. That’s one reason we wrote this article: We want you to understand the entire process before starting, to avoid unnecessary trial and error.
First, you’ll need a sublimation slate—a stone material with a polyester coating on its surface. Slates on the market come in many sizes and shapes, so choose one that fits your needs.

Next, a sublimation printer, paired with dedicated sublimation ink and sublimation paper, to print the design you want to transfer. We recommend our brand, A-SUB® sublimation paper. It has a good reputation for printing stability and image detail.
Additionally, a heat press machine is essential. Traditional flatbed heat presses or automatic presses are recommended for more stable, effortless operation. Of course, if you have an EasyPress, it can work too—just apply external force during pressing.
To keep the design from shifting during transfer, use heat-resistant tape. You’ll also need a lint roller or a clean, dust-free cloth to wipe down the surface of the slate. And don’t forget heat-resistant gloves—touching the freshly heat-pressed slate directly could easily burn your hands!
If you’re worried about uneven heating on the slate’s edges, prepare a heat-conductive pad (silicone pad). It helps distribute heat more evenly, especially useful for slates with textured edges.
Once you have these basic tools, you can start prepping for the project.
Make Sure You’re Ready Before Pressing
Follow these steps to prepare before pressing:
① Clean the slate surface
Use a lint roller or clean cloth to remove any dust, lint, or small particles from the surface.
② Preheat the slate
Place the slate in the heat press and set the temperature to 180–200°C (356–392°F). Heat for 1–2 minutes to remove internal moisture. Then take it out and let it cool naturally.
③ Print the design
Use your sublimation printer to mirror-print your image onto sublimation paper. We suggest printing the design slightly larger than the slate’s actual print area, leaving a 5mm bleed to avoid unwanted white borders.
④ Position the design
Place the printed side of the image face-down on the coated side of the slate. Use heat-resistant tape to firmly secure all four sides, ensuring it won’t move during pressing.
Once these steps are complete, you’re ready to move on to the actual heat press process, where your image will be transferred onto the slate under high temperature and pressure.
Heat Press Instructions
After positioning your design, follow these steps to complete the heat press process:
① Set temperature and time
Preheat the press to 204°C (400°F) and set the time to 6 minutes (360 seconds). Sublimation slates are dense, so they require more time for the ink to fully penetrate and bond.
② Assemble the heat press layers
Before pressing, place everything into the heat press in this order (from bottom to top):
- Heat-conductive pad (optional, helps heat evenly)
- Protective paper (keeps your press clean)
- Sublimation slate (with the design taped on)
- Sublimation paper (printed side facing the slate)
- Another sheet of protective paper (protects the top plate)
Make sure the stack is flat and centered. Then close the press and apply firm, even pressure.
📌 If you’re using a handheld heat press like an EasyPress, make sure to apply firm, continuous manual pressure during heating. You can lean your body weight into it to ensure consistent pressure.
③ Let it cool, then remove the paper
Once pressing is complete, use heat-resistant gloves to remove the slate and place it on a heat-safe, flat surface to cool naturally. After cooling to room temperature, peel off the sublimation paper to reveal your transferred image.
Frequently Asked Questions (FAQ)
Q1: Can sublimation slates be reused? What if the transfer fails?
A: No, they are not reusable. Once the surface coating is printed—whether successful or not—it cannot be reused. If the image is blurry or misaligned, you’ll need a new slate. We recommend testing with scrap material before your actual project.
Q2: Why does my image look faded or grayish?
A: It’s likely due to low heat or short pressing time, which stops the ink from fully transferring. Poor-quality ink or paper can also cause dull or washed-out colors.
Q3: The edges of my slate image look blurry. Is my machine faulty?
A: Not necessarily. The slate’s edges often have rough textures that prevent even pressure or heat. Try using a heat-conductive pad and ensure the design paper is tightly secured.
Q4: Can I peel off the paper right after pressing?
A: We don’t recommend it—slate holds heat for a long time, with surface temperatures reaching up to 200°C. Wait until it cools to room temperature to avoid image smearing or color peeling.
Q5: Can I cut the slate to size myself?
A: We don’t recommend it. Cutting by hand can cause breakage or damage the coating, which will ruin the print result.
Q6: Can the slate be used for outdoor decoration?
A: Not for long-term outdoor use. Although the slate itself is water-resistant, the coating is not UV- or weather-proof. Prolonged exposure to sun or rain will cause fading or peeling. If you must use it outdoors, apply a clear protective spray afterward.
Q7: Can I use regular photo paper instead of sublimation paper?
A: No. Regular photo paper can’t withstand high heat and doesn’t release ink properly. It’s only suitable for inkjet or laser printing.
Final Thoughts
I’ve seen many creators start with mugs or T-shirts, but once you try sublimation slate, you’ll notice the difference—both in feel and in visual impact. It does require more careful handling, but the result is always worth it.
If you find our articles helpful, feel free to follow our blog. We’ll be updating it regularly with printing tutorials and material tips to help you create efficiently.
Also, if you need to purchase sublimation paper, ink, slates, or other related materials for your project, feel free to contact us. We are happy to provide you with reliable products and technical support.


发表回复